Showing posts with label brownies. Show all posts

Tuesday, September 4, 2012

Buckeye Brownies

I love 3 day weekends! This weekend we went out to my grandparents lake house. I was looking for some treats to make, and my sister requested these buckeye brownies. She used to live in Ohio, home of the buckeye balls (delicious little balls of peanut butter dipped in chocolate), and when she saw this recipe, she put in a special request. Good thing they were so easy to make!

Start with a box of brownie mix. Bake it according to the directions.


While they're cooling, make the peanut butter topping. Mix a jar of peanut butter, 2 cups of powdered sugar, and a stick of butter, then spread it over the top of the brownies when they're cool.


Stick them in the fridge for about an hour. Then make the chocolate topping. Melt a package of chocolate chips with 6 tablespoons of butter. I did it on the stove, with a homemade double boiler. Just fill a sauce pan with water and place it under the pan with the chocolate chips and butter. That way the chocolate will melt slowly and won't burn. When it's all melted, spread it over the top of the brownies. Stick it back in the fridge until the chocolate topping is hardened.


Then get ready for some serious chocolate/peanut butter goodness! Be warned: they are really rich, so cut the brownies small! They are also delicious served with vanilla ice cream!


I know the pictures don't quite do them justice, but trust me, these are some seriously good brownies! In fact, we didn't finish them all at the lake, so I had to bring some home. (Oh, rats!) And even though I'm supposed to be starting day 1 of healty eating today, I just couldn't resist eating a little bit more of these brownies! I think I'll bring the rest to work tomorrow and let someone else finish them off!

Monday, February 27, 2012

Best. Brownies. EVER.

How I know these are the Best. Brownies. EVER...

  1. They are so good that I have made them 3 times this month.
  2. One of the times I made them, 4 of us ate an entire half pan in one evening.
  3. The third time I made them, this is what the pan looked like after 20 minutes:

The original brownie recipe can be found here
(just make the brownies, not the rest)
and the original frosting recipe can be found here
(just make the frosting, not the rest)  


Monday, January 23, 2012

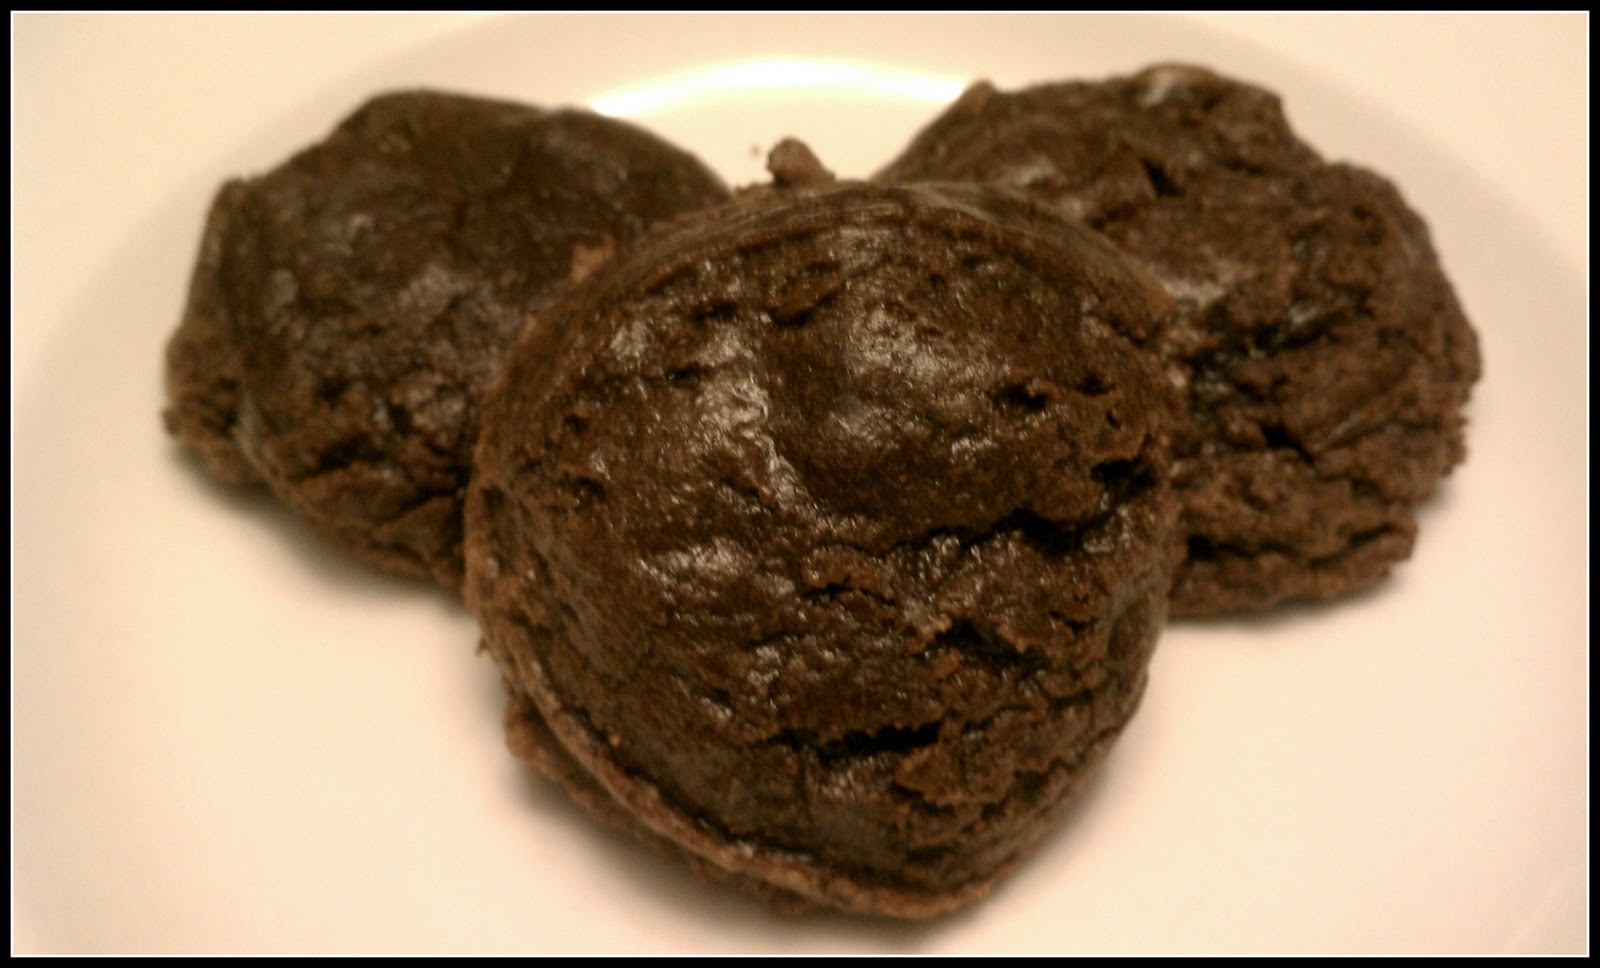
Pinned It, Made It: Fudgy Brownie Cookies

It's official, I, like everyone else, am definitely obsessed with (and overwhelmed by) pinterest. I love all of the ideas, but I also sometimes have panic attacks when I look at all the great ideas and realize I will never in a million years have time to try them all. So I've decided to start keeping track of my pinterest inspired projects here on my blog. Just a heads-up though, not all of these projects are baking...some, in fact quite a few, are school-related. So be prepared for a few random 2nd grade projects mixed in with the baking!

First up, Fudgy Brownie Cookies...

Even though they started out a little rocky, I think the final product turned out pretty great!


Here's what happened: I (per usual) did not read through the entire recipe before I started baking. I just looked at the picture and said "Wow! These look amazing...I need to start baking immediately!" Then I looked at the ingredients and said "Wow! This looks so easy, just a brownie mix with a couple of extra things added in!" Well...you should know that the dough is supposed to chill for 2 HOURS before baking. I did not have that kind of time, so I mixed up the dough and put it in the freezer for about 50 minutes instead. It worked pretty well, although it was a little bit too frozen. If you are going with the freezer method, I think 40 minutes would be about perfect.

Also, my first batch turned out SUPER gooey (like maybe 10 minutes in the oven wasn't quite enough). Don't get me wrong, they were deliciously gooey, but if you are picky about thouroughly baking your cookies, just keep them in the oven a little bit longer!


And actually, now that the cookies have sat overnight, the insides have solidified a little. Now they just taste like gooey, fudgy, brownie awesomeness. (I may or may not have eaten 3 of them for lunch - don't judge!)


If you have an extra brownie mix lying around the kitchen, and 2 hours to wait while your dough chills, check out the original recipe here and get ready to enjoy some delicious brownie cookies!

Monday, November 21, 2011

Chocolate Chip Pillow Cookies

Pinterest is taking over my life. Seriously, it is. I pin at work, at home, at my mom's house. I love it, but sometimes all of the pinning and repinning and commenting on pins just gets a little crazy. But sometimes, all of the pinning and repinning and commenting on pins leads you to some fun new recipe ideas. Example...Chocolate Chip Pillow Cookies!

Have you seen them over on Pinterest?
It's a brownie inside a chocolate chip cookie!

WHAT?

I know, right?

Amazing!

I (re)pinned them a long time ago, but felt a little self-indulgent just making them for myself. But when a friend needed a little pick-me-up, I knew these were the perfect cookies to get the job done!

At first glance, these cookies seem a little complicated, but they're actually pretty easy. All you need to do is bake a pan of brownies, and mix up a batch of your favorite cookie dough. Let the cookie dough chill in the fridge for about an hour before you use it. Spread some parchment paper out on the counter, preheat the oven to 350, then you're all set to follow these steps...

1. Roll a big glob of cookie dough into a ball. You'll have to experiment with how big you want your cookies to be, how much brownie you want to stuff in there, etc... I used about 1/4 cup of dough for each cookie.


2. Pretend like you're making one of those thumbprint cookies with the hershey kisses in the middle, and smoosh a hole into the center of your dough ball.


3. Cut a small piece of brownie (about an inch or so big) and push it down into the hole that you just made.


4. Work the edges of dough up around the brownie so that it starts to cover up the brownie.


5. Keep working the dough around the brownie until it's all covered up. Do not let any brownie show through! If you need to, add some dough to the top to make sure it's completely covered.


6. Put your dough ball/brownie creation on a cookie sheet and bake for about 15-18 minutes, depending on the size of your cookies. They will spread out quite a bit, so don't put too many on your baking sheet. I only did 6 at a time!


7. Surprise someone with a big batch of pillow cookies! YUM!


P.S. For the original idea, plus the recipe I used for the cookies, check out Bakerella's version.

Monday, August 29, 2011

Cookie Dough Brownies

A while back, I found these AMAZING-looking brownies on pinterest (my latest obsession)...


Brownies layered with Cookie Dough topped with Chocolate = YUM.
(You can find the original recipe here.)

There are 3 steps to make these tasty treats...

1. Bake some brownies. They can be from a mix, or made from scratch. I used the recipe from the original post, and they were so yummy! Here's the recipe, in case you don't want to go looking for it:
  • 1 cup butter
  • 2 cups sugar
  • 4 eggs
  • 1-1/2 tsp vanilla
  • 1/2 cup cocoa
  • 1-1/3 cups flour
  • 1/2 tsp salt 
Cream butter and sugar together.  Add eggs and blend well.  Add vanilla, salt, cocoa, and flour.  Don't over-beat.  Pour into a greased 9x13 pan.  Bake at 350 F for 20-25 minutes or until done.  Cool completely.
 

2. Make some cookie dough and spread it over the brownies. To be safe, use this recipe without eggs:


3. Melt about 2 cups of chocolate chips and pour it over the cookie dough. Let the chocolate harden before cutting into your brownies, then enjoy!


Be warned: When I made these for my friends, I got a lot of comments about how sweet they are, so be sure to cut them into small pieces. Unless, like me, you could eat a whole pan of sweet goodness...in that case, cut them nice and big!

Wednesday, March 9, 2011

Brownie Points!

Lately in First Grade, we've been playing a little game when we come in after lunch and when we line up to go home. The game is pretty simple: If the kiddos can do it quietly, they earn a brownie point. If they are too loud or crazy, no points. When they fill up the pan with "brownies", I make some tasty treats for them to enjoy the next day.

To play the game, we use 12 brown construction paper squares with magnets on the back and a small cookie tray. My mom thought this was hilarious when she saw it. Good thing the kids couldn't hear her laughing so hard, because they take these brownie points very seriously!


I was pretty excited when they filled up the pan because
  1. I get to sneak some brownies before the kids get them. 
  2. I LOVE baking brownies in my Perfect Brownie Pan!
If you haven't seen this pan, it's great because it makes all of your brownies the same size and cuts them for you! The only thing you have to remember is to use A LOT of cooking spray before, otherwise you'll have a little trouble getting the brownies out at the end! The pan is really easy to use, too. All you do is pour the batter in, then shove the grid down on top of it all.


The brownies come out all gooey and chewy and the same size, so none of the little munchkins say "Why is mine so small?" After eating these tasty treats, all they can say is "Wow, you are the best teacher ever. Where did you get the recipe for these brownies? (Um...on the back of the box!) You are so pretty and nice!" Aww, thanks guys. (Really, this was our actual conversation as they ate their brownies today.)


P.S. Don't forget to buy the ones with the BoxTops!